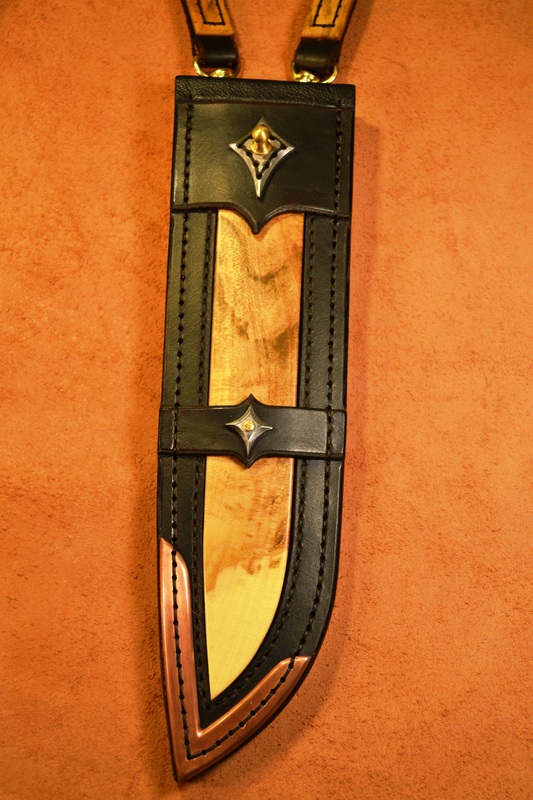
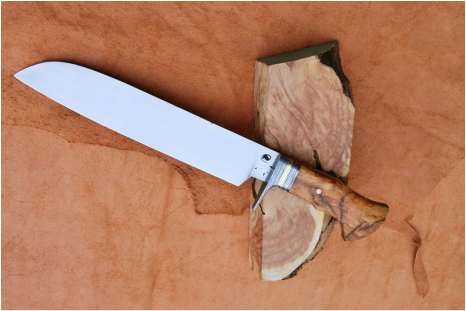
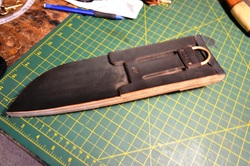
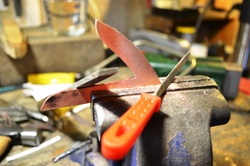
The Completed Knife
"Alloyed Force"
|
Components/Specifications:
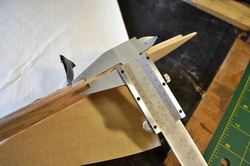
The blade is 10" x 2" x 1/4" of forged 1095 steel with a full flat grind and a 1500 grit hand rubbed finish. The blade was etched and polished to highlight a prominent temper line. The handle is a 5" piece of Red Maple "onion" burl fitted to a guard forged from wrought iron anchor chain then etched a polished to reveal its distinctive texture and pattern. Wrought iron and brass spacers, and a copper pin complete the package. The handle has a buffed Tung Oil finish. |
|
When designing any piece, I see the knife and its accompanying sheath as one complete package.
For "Alloyed Force" this means that I needed to incorporate the same materials and style
exhibited within the knife: a mix of brass, wrought iron, copper and wood (Red Maple Burl).
For "Alloyed Force" this means that I needed to incorporate the same materials and style
exhibited within the knife: a mix of brass, wrought iron, copper and wood (Red Maple Burl).
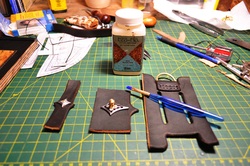
Materials Needed for Basic Assembly:
- a piece of Wickett & Craig 6/7 oz veg tanned leather
- my hand drawn template
- a chunk of Red Maple "onion" burl
- a couple of gouges
- a good straight edge and an Exact-o-Knife with a few extra blades
NOTE: more hand tools and materials will come into play later on in the process...
Step-by-step:
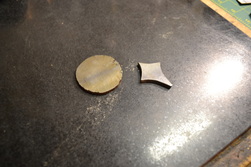
1.
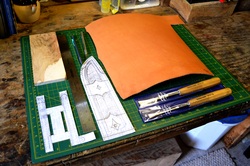
I first completed one of my more time-consuming steps.... the layout work with pencil and paper. I spend hours doing this. Its the process where I can envision all the little design nuances and technical steps of assembly. I try to get it right here so I don't have to screw around during the build.
2.
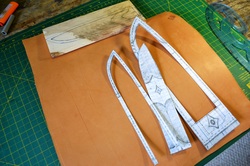
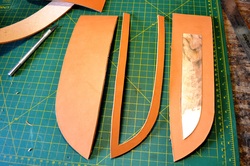
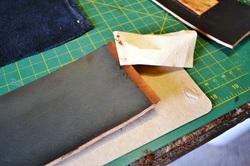
Using the straight edge and a very steady hand, I cut out the various parts from the basic cardboard template then proceeded to trace the outlines onto the leather.
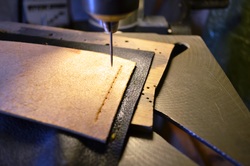
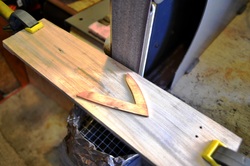
3.
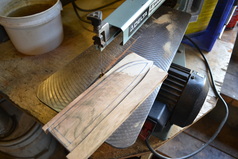
I'll cut out the leather pieces later. Right now I want to get the inlay started. The outline is first traced onto the block. Then I use a brand new, sharp razor blade in my utility knife to cut a "stop cut" along the outline. Finally, it is cut out on the scroll saw.
4.
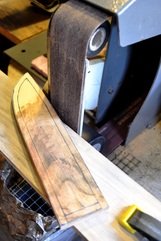
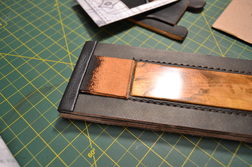
The lines are cleaned up on the belt grinder...
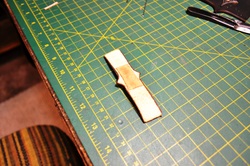
5.
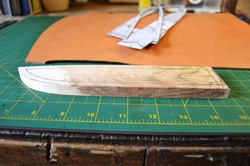
The piece is approx. 1/2" thick so I have enough material to work with to get a nicely raised-surface inlay.
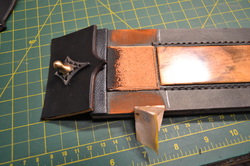
6.
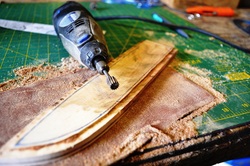
Now the work starts! Using my dremmel, I begin to "route" out the edges.
7.

Continuing with the dremmel. I find that I can hold it down against the table and move the work piece under the spinning bit.... much like a real table router. I'm just about done with the rough shaping of this piece. I'll fine tune the edge with files and a sanding block to get a perfectly flat, smooth stitching surface.
8.
I want the stitching lip to be THIN. I don't want a bulky hunk of wood restricting the movement of the blade in the sheath.
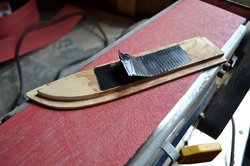
9.
I removed most of whats needed with my 4"x36" belt grinder, then I finish the job with sand paper and smooth granite block.
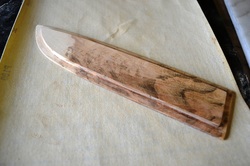
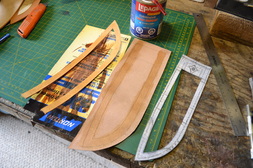
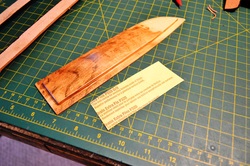
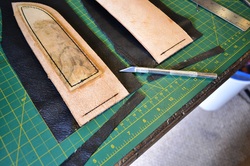
10.
The finished inlay ready for Tung oil and polishing.
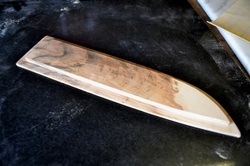
11.
Did I say I wanted this to be thin? There's still enough meat there to make an underside stitching groove without compromising the strength or integrity of the inlay piece.
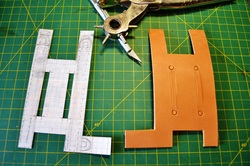
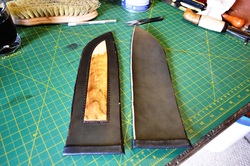
12.
It fits!! Yeahhhh!!
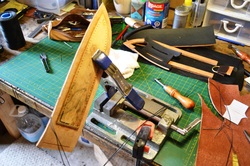
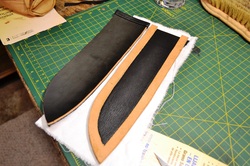
13.
While the first coat of Tung oil dries on the inlay, I need to make the welt thicker to accommodate the blade. I'm gluing a piece of split to both sides of the welt.
14.
On to the belt harness (this will later be changed a bit). I punched and cut out the belt loop slits. All my cut leather pieces were then dyed with Fiebing's Dark Brown Oil Dye. Sorry - I forgot to take pics of this step!
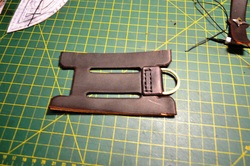
15.
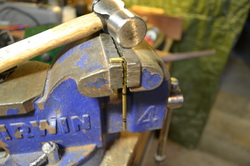
Now I need to switch gears a bit and make three brass D-rings. The 1/8" pins are marked and the ends bent.
16.
Each pin is hammer-bent over a steel rod.
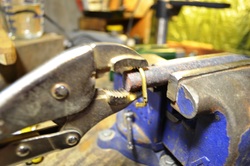
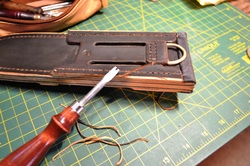
17.
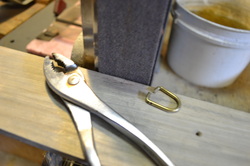
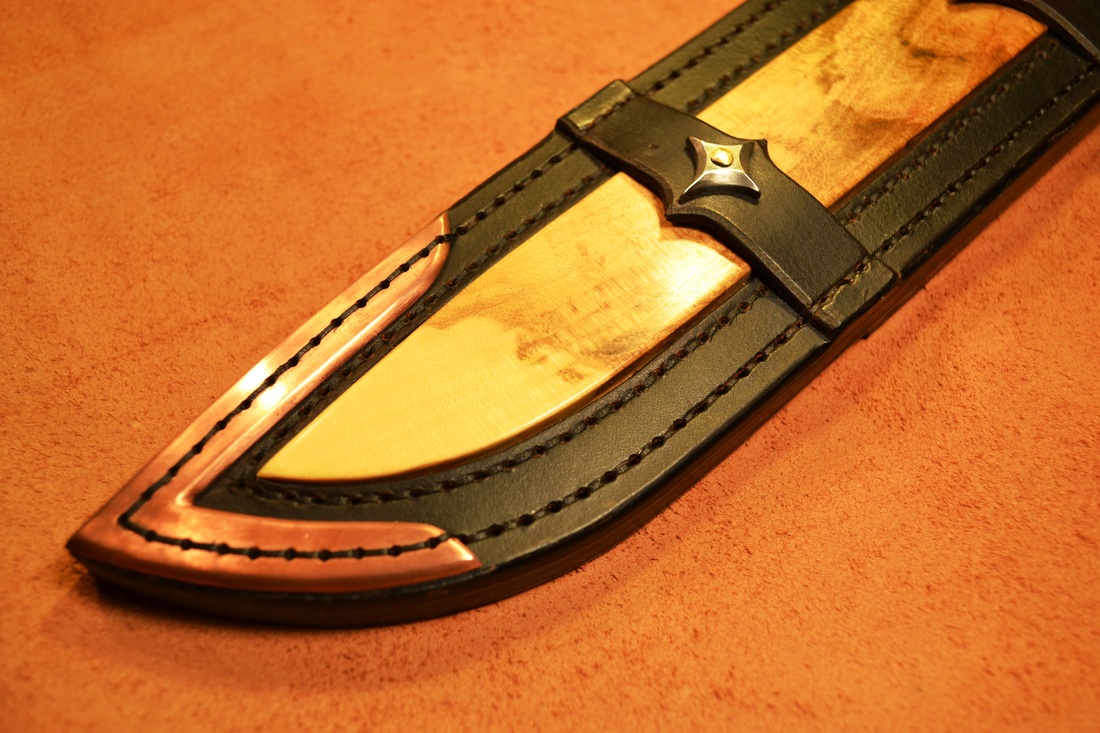
The ends are fine tuned on the belt sander so they meet up just "so".
18.
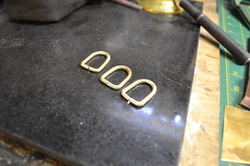
After cleaning them up a bit, the three d-rings are ready to go. (you'll see later on I end up scrapping these...)
19.
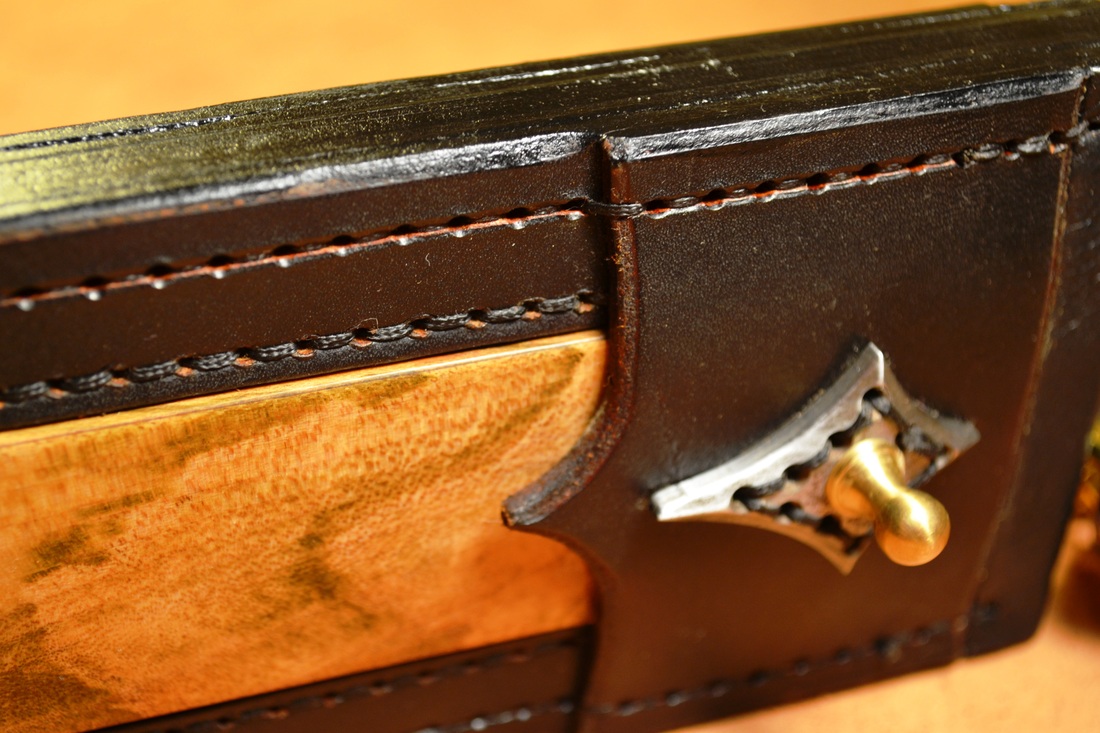
I cut off two coins from a wrought iron chain link. Here, I have finished rough-shaping the first of two decorative "stars" for the sheath face. I used a dremmel with sanding drums to shape the pieces. These will get beveled edges and a good polishing before etching.
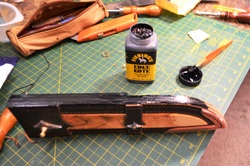
20.
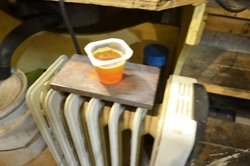
My two "stars" being etched in ferric chloride...
21.
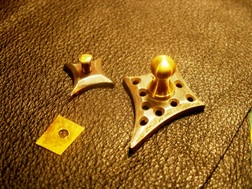
Gave these a final polish. Stitching holes were drilled in the larger of the two and a single 1/8" pin hole for the smaller. I also modified a brass Sam Brown stud (a studded version, not the one with a screw) and affixed it to the star with JB Weld. The smaller star will be peened onto the leather.
22.
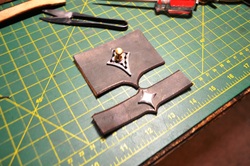
The two stars have been attached to the leather pieces. This photo also shows the first of two modifications. I originally had drawn out a larger mid-section strap, but it bugged me.... it was too large. So I cut out a thinner version and I much happier now.
23.

This is the underside of the smaller strap with the peened brass pin. This needs to be covered to protect the wood inlay that will be beneath it.
24.
I cut a small piece of scrap leather split and glued it over the pin. This should work just fine.
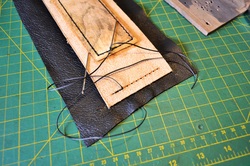
25.
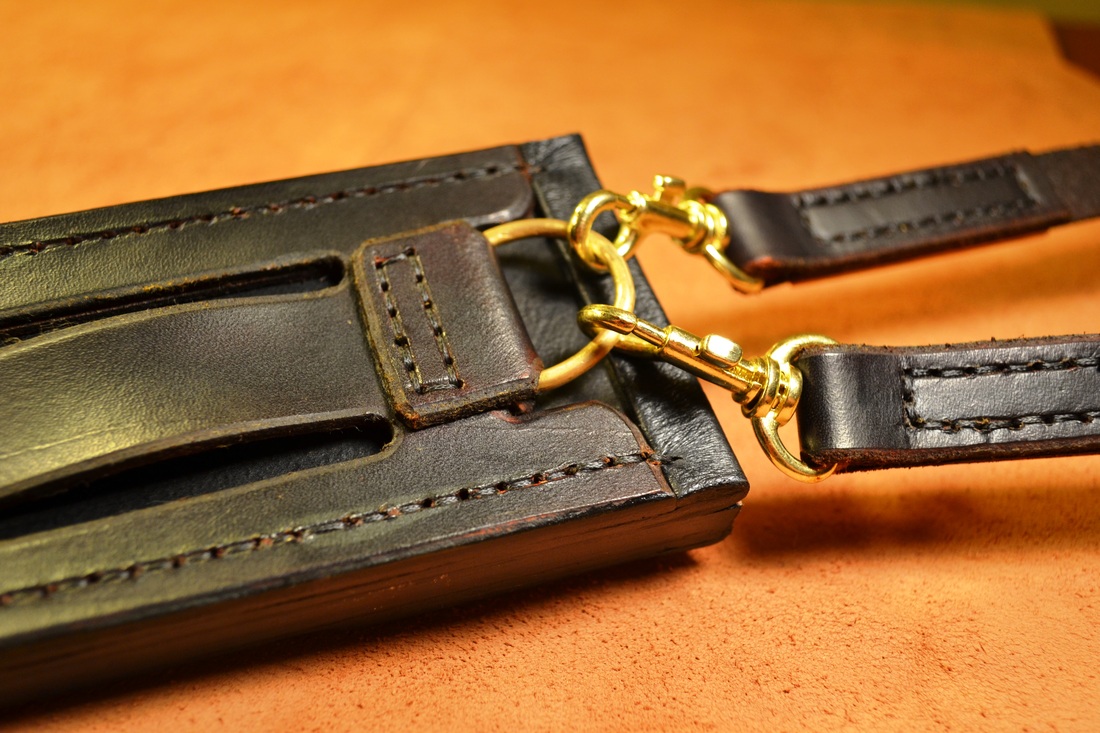
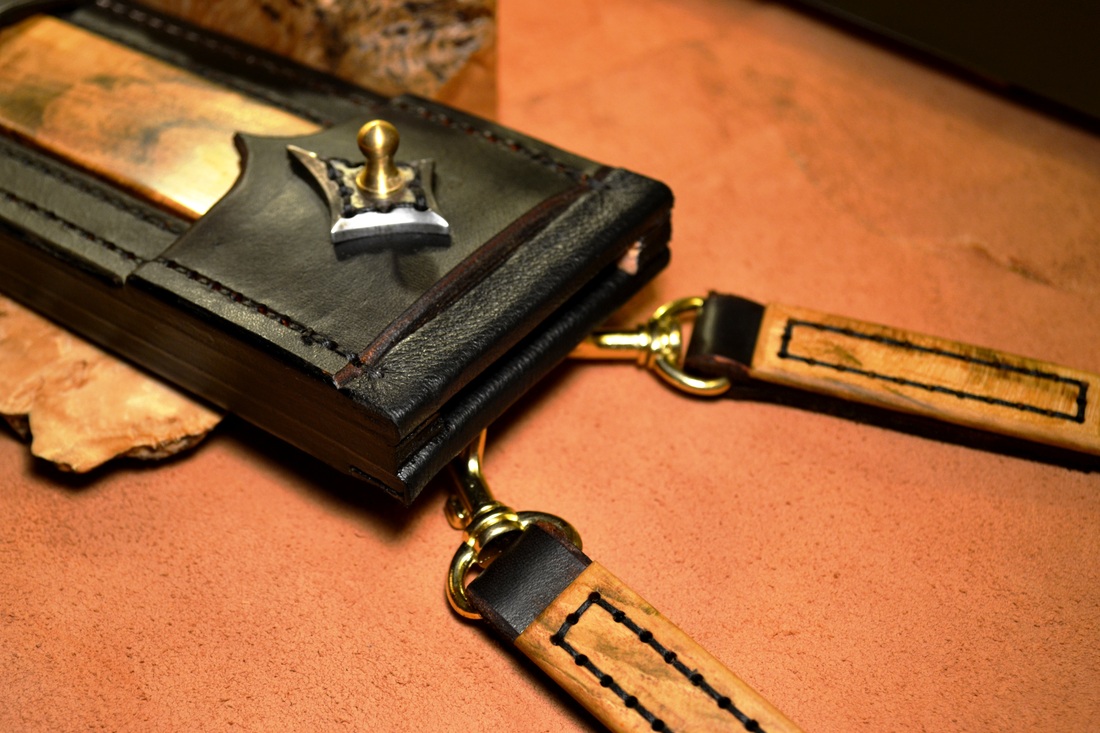
I had wanted to create three points of connection for a shoulder strap, but I just couldn't make my initial design work.... for various reasons. So I scrapped the three-D-ring concept (sigh) and opted for a single, larger D-ring that will allow a tip-down shoulder carry option. I want the d-ring to be hidden and not get in the way when the sheath is worn on a belt.
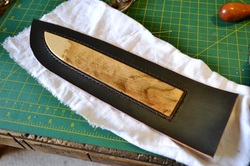
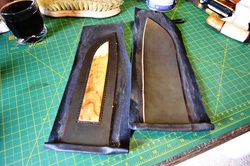
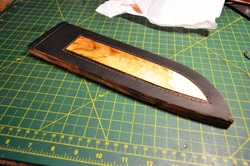
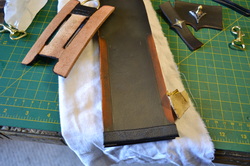
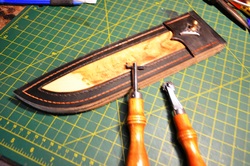
26.
Back to the inlay.... The inlay piece has been given 6-7 coats of Tung oil and buffed to a high polish. This needs to be finished completely before it gets stitched into the sheath body. Now, I am sanding off the surface oil from the stitching lip so that contact cement will adhere.
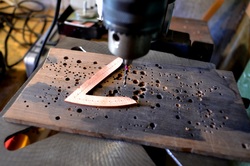
27.
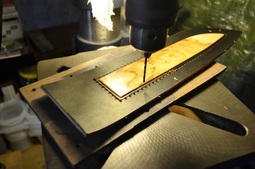
The inlay has been glued into the leather face and I'm drilling the stitch holes with a 1/16" bit. I'd like a thinner drill bit, but that's what I have so....
28.
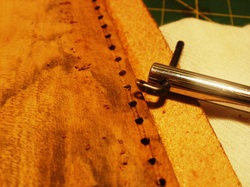
After the holes are drilled I can cut in the stitching groove.
29.
I love my high-tech stitching horse! (This shows the back side of the inlay).
30.
I worked too damn hard on this inlay to have it marred during this process. Protection is good.
(view of front side).
(view of front side).
31.
Nice and snug. No gaps, and a good straight stitch line.
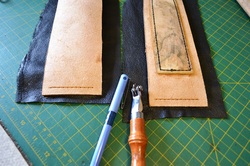
32.
I'm roughing up a thin strip where the lining will be glued and stitched to both faces of the sheath.
33.
I've cut two pieces off an old leather jacket to serve as lining. They get a good cleaning before stitching.
34.
The lining(s) gets a strip of glue. I do this very carefully so no glue is seen on the finished piece. I use a piece of scrap cardboard to make the clean line.
35.
A grove is cut into both top and bottom pieces for stitching the lining. Holes are imprinted and marked with a ink dot (I have bad eyes).
36.
I drill the stitch holes with an old, sharpened needle....
37.
....then stitch it in place.
38.
I then cut away the excess and they are ready for folding and gluing.
39.
Linings all glued and stitched.
40.
And then carefully trimmed.
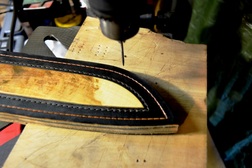
41.
Now, the welt is glued in place.
42.
The sheath then gets glued together....
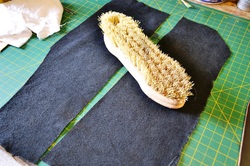
43.
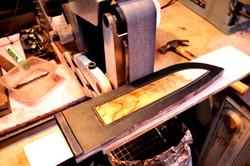
A few passes on the belt grinder cleans up the edges just a bit (with more clean-up required later).
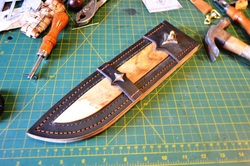
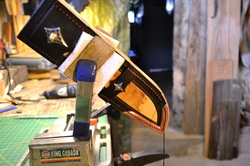
44.
Now to add on my parts and pieces...all three ready to go.
45.
Because the inlay stands proud of the leather face, I need to raise this piece up to meet flush with the inlay and the lining roll. I've glued down a piece of split, dyed on the top edge.
46.
With the split piece glued down, I'm lightly roughing up the edges that will be glued.
47.
I'm doing the same to the back side where the belt harness will be attached.
48.
The belt harness and front piece now glued down.
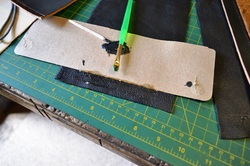
49.
The stitching grove is cut on the front face and then marked for holes.
50.
I have to take my time doing this to get the stitch holes straight and clean throughout.
51.
With the stitch holes done, its time to position the smaller band and get it ready to sew it all together. Yes, I know its a bit cock-eyed... its not done yet!!
52.
Time for the last component - the copper tip piece thingy (a technical term). I first cut it out and do some file work to give it its basic shape.
53.
After careful fitting on the sheath, the stitching line and holes are marked ,and the piece is cleaned up a bit using the grinder.
54.
The stitch holes are center punched and drilled. The edges will get rounded off and the whole piece polished to 800 grit.
55.
Now, its back onto my stitching horse to get this thing sewn up.
56.
After stitching, I clean up the edges.
57.

The edges are hand-sanded to 320 grit then coated with gum tragacanth. I'll then burnish the edges to get them perfectly smooth.
58.
Then, a coat of black edge coat.
59.
Once the edges have dried they are burnished again to give them a nice polish. Then I rub in a coat of mink oil that will dry and be polished.
NOTE:
I did not show the making of the retention strap or the shoulder strap, but all the steps used in the process have been covered in previous steps.
There are some pictures of the completed straps system below and also within my portfolio.
I did not show the making of the retention strap or the shoulder strap, but all the steps used in the process have been covered in previous steps.
There are some pictures of the completed straps system below and also within my portfolio.
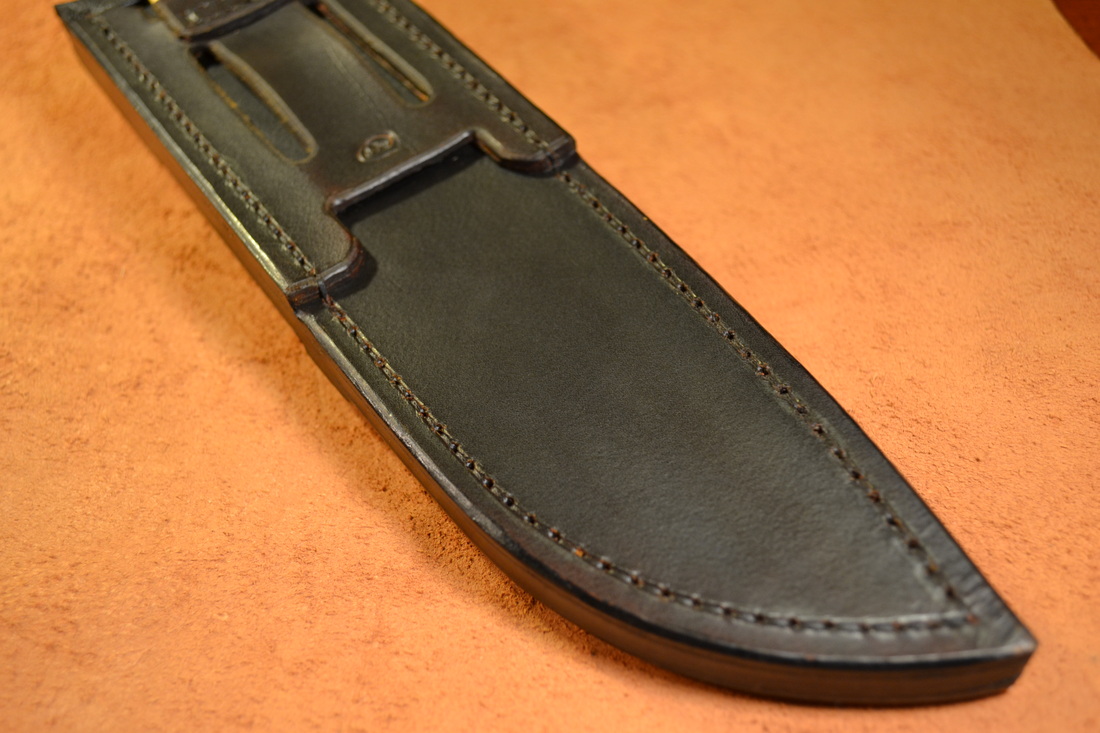
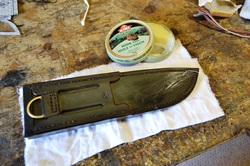
The Finished Sheath: